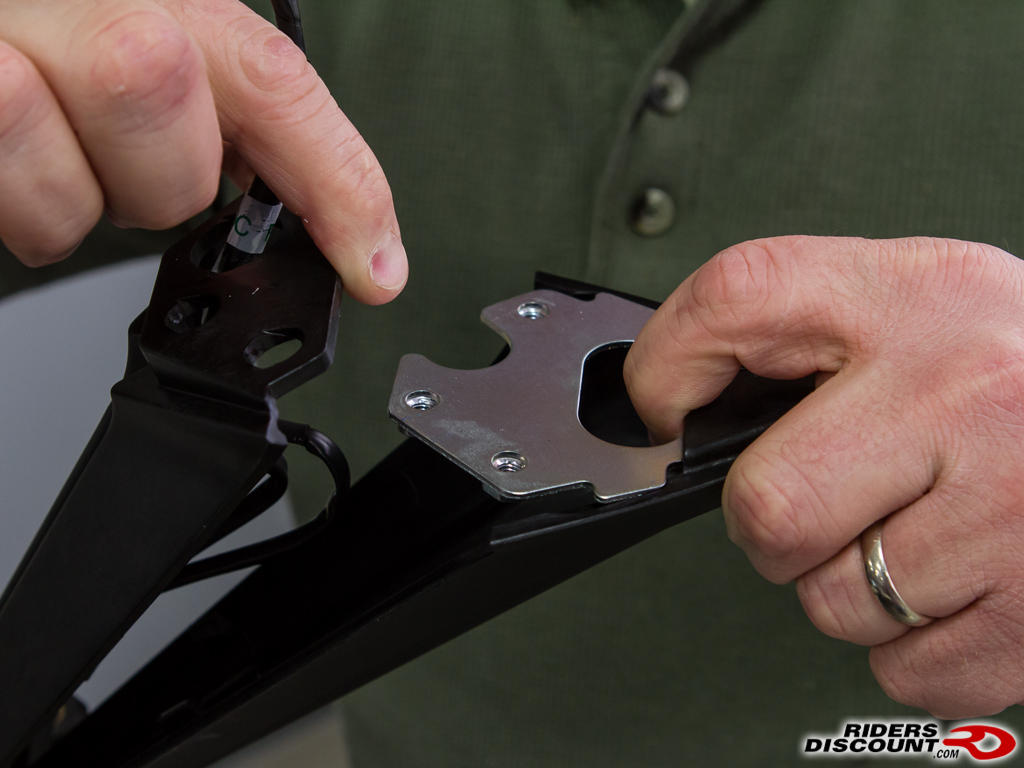
This is a very quick "how to" on the EvoTech tail tidy install. I didn't take a picture of the removal of the OEM unit however it is fairly straight forward and is the 4 bolts under the passenger seat.
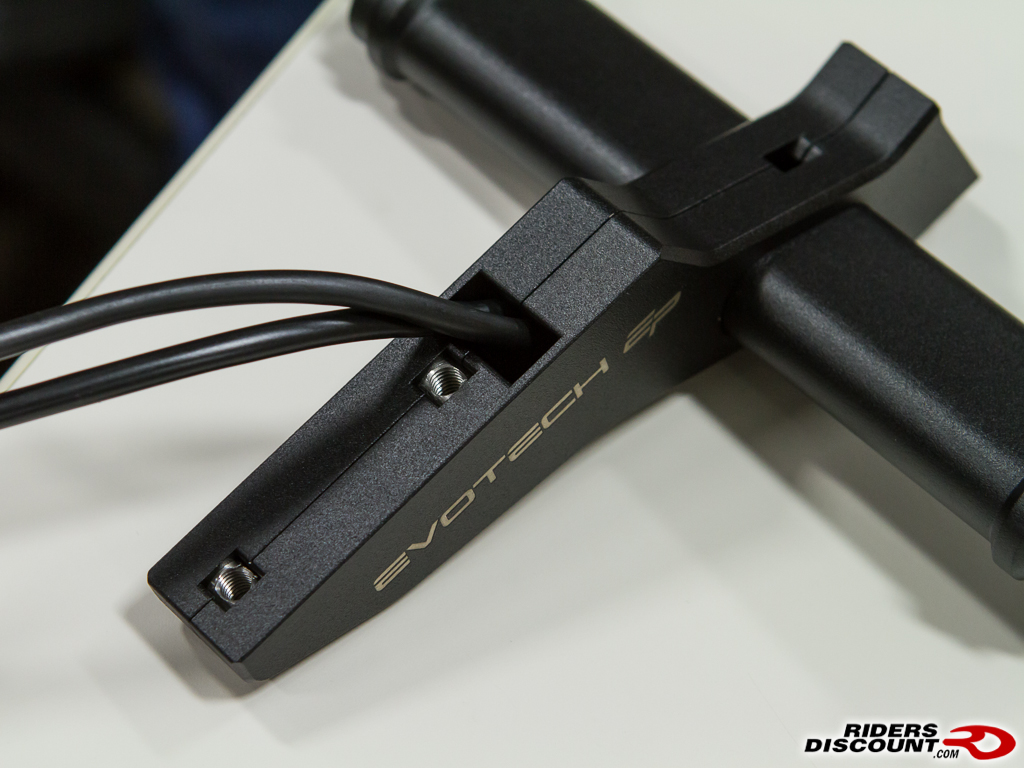
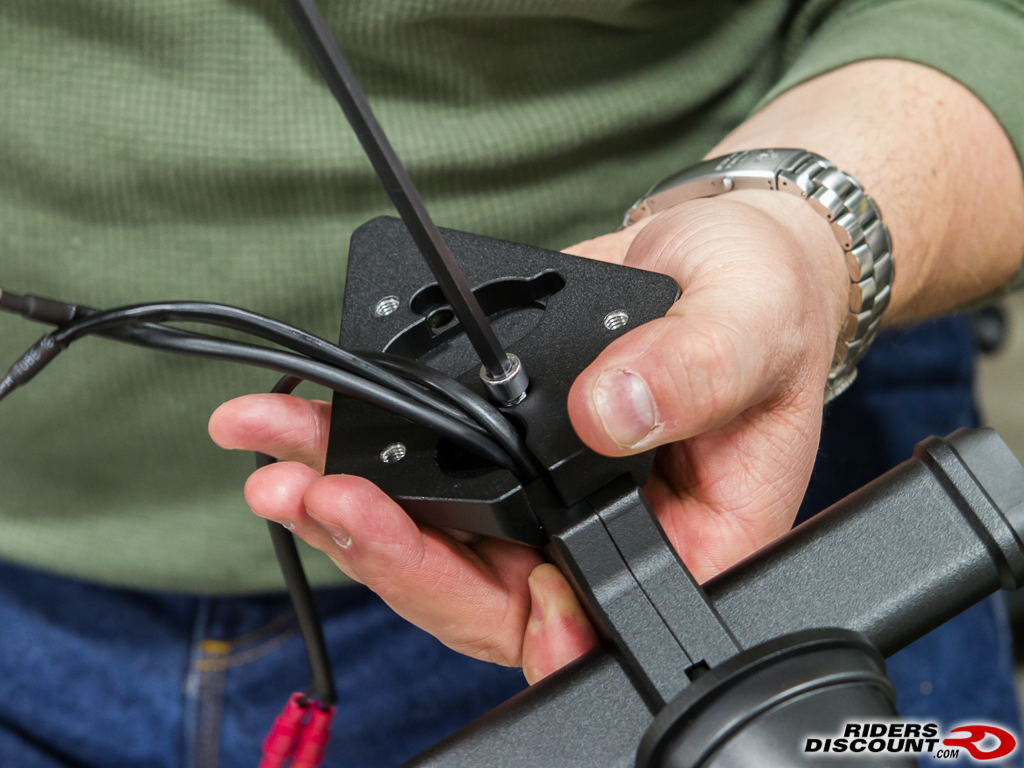
You will be disassembling the OEM bracket to gain access to the wiring harness and turn signals.
![Image]()
![Image]()
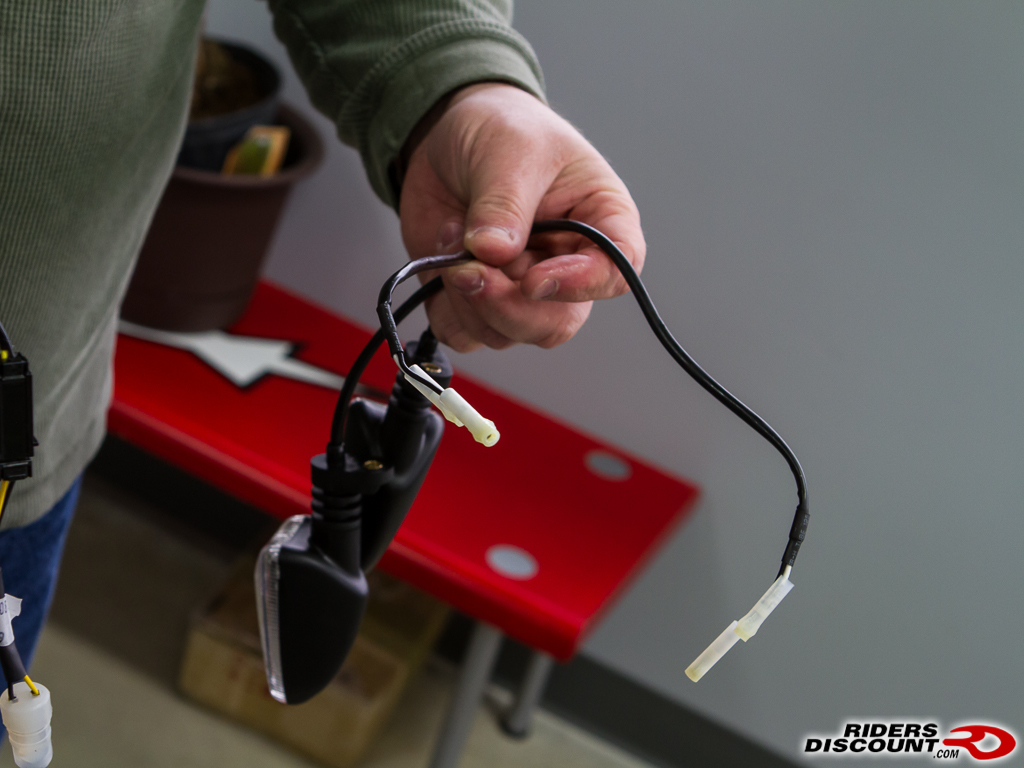
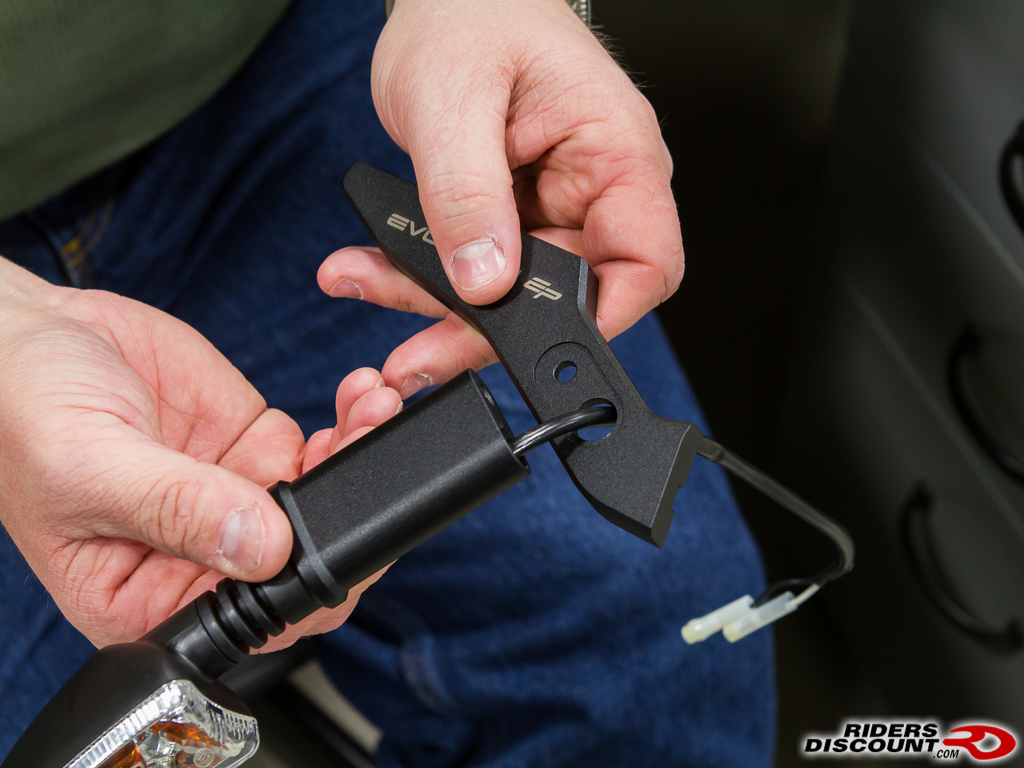
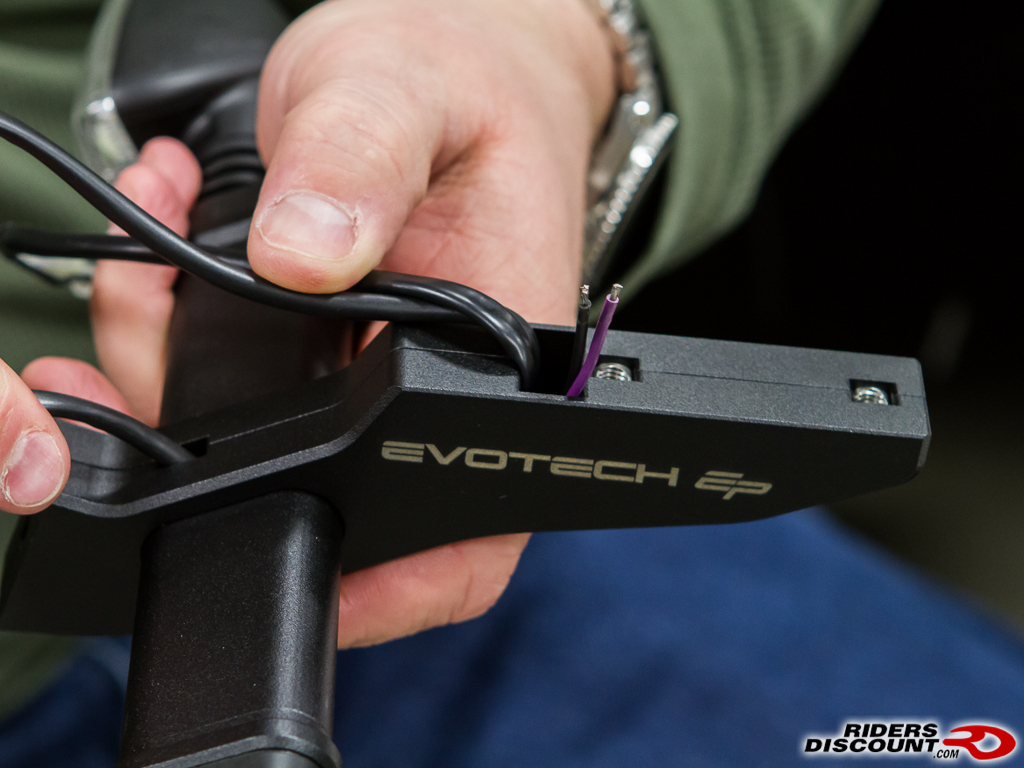
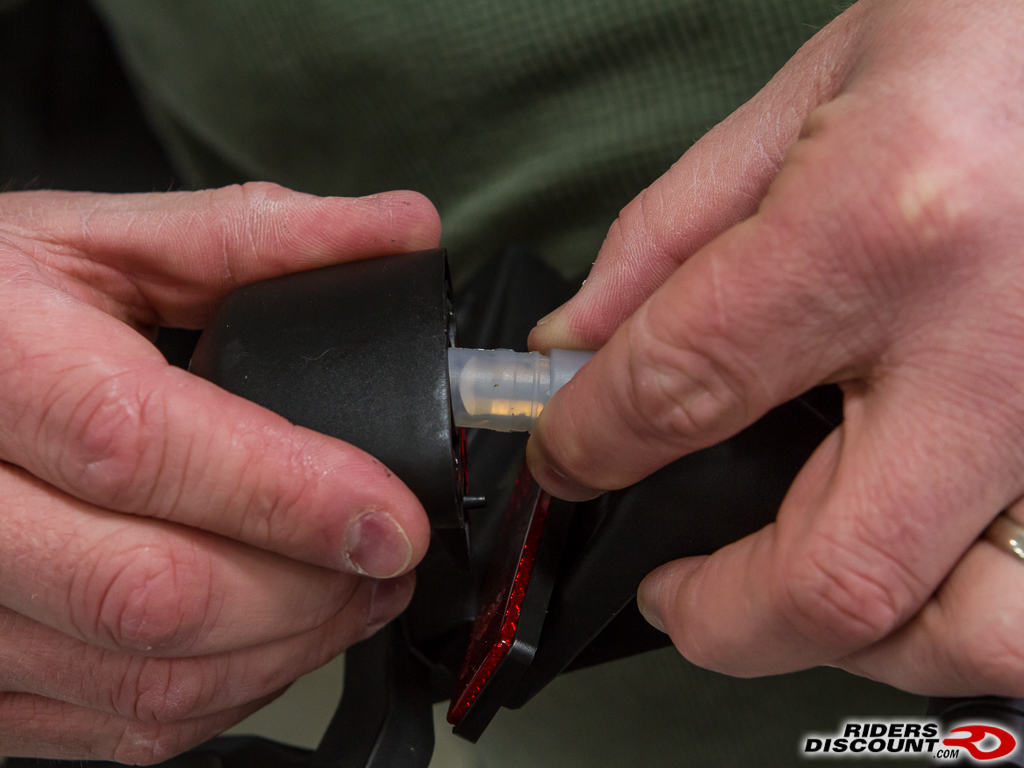
Here you can see the plate light is pulled from the housing
![Image]()
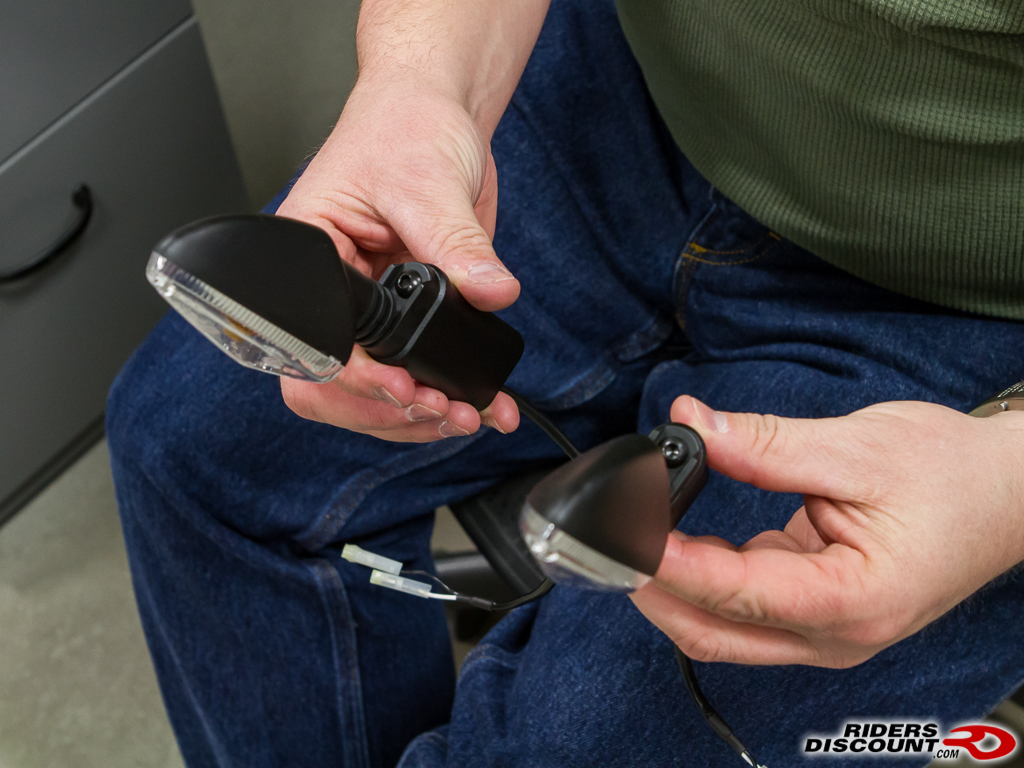
Turn signals are removed
![Image]()
![Image]()
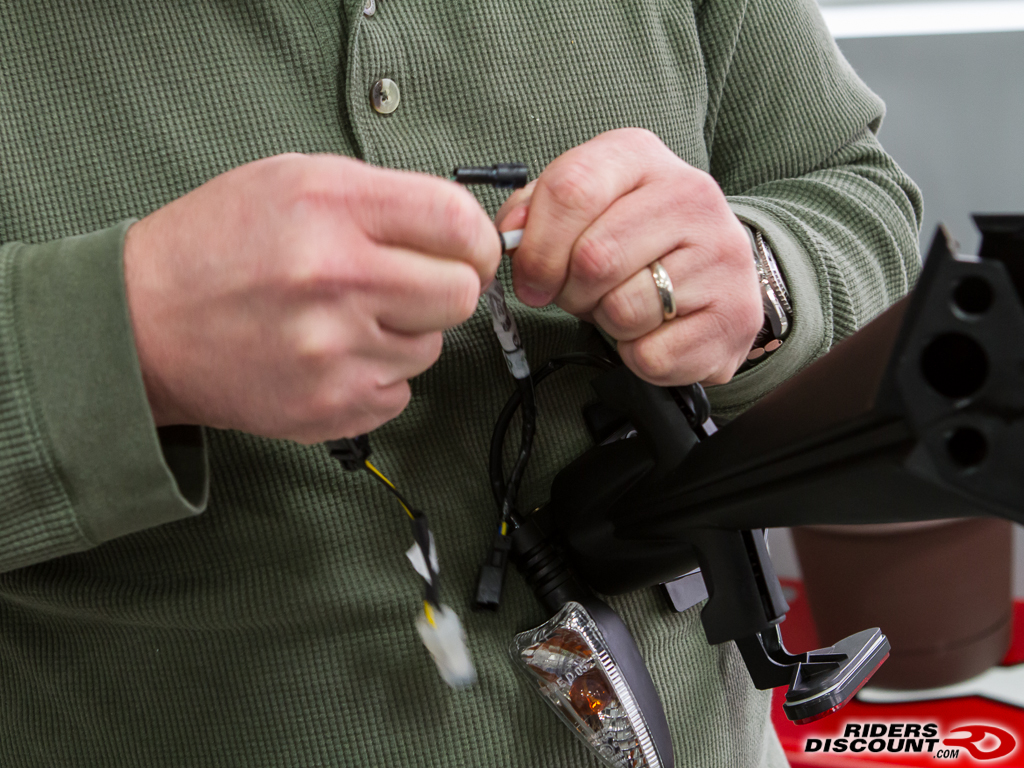
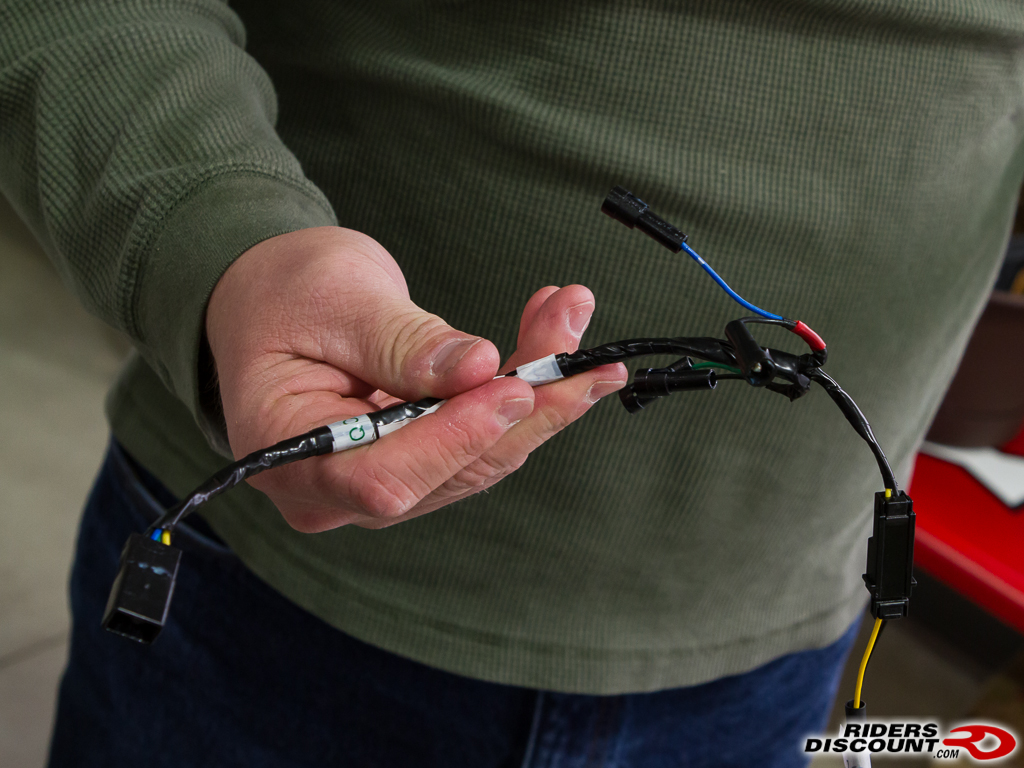
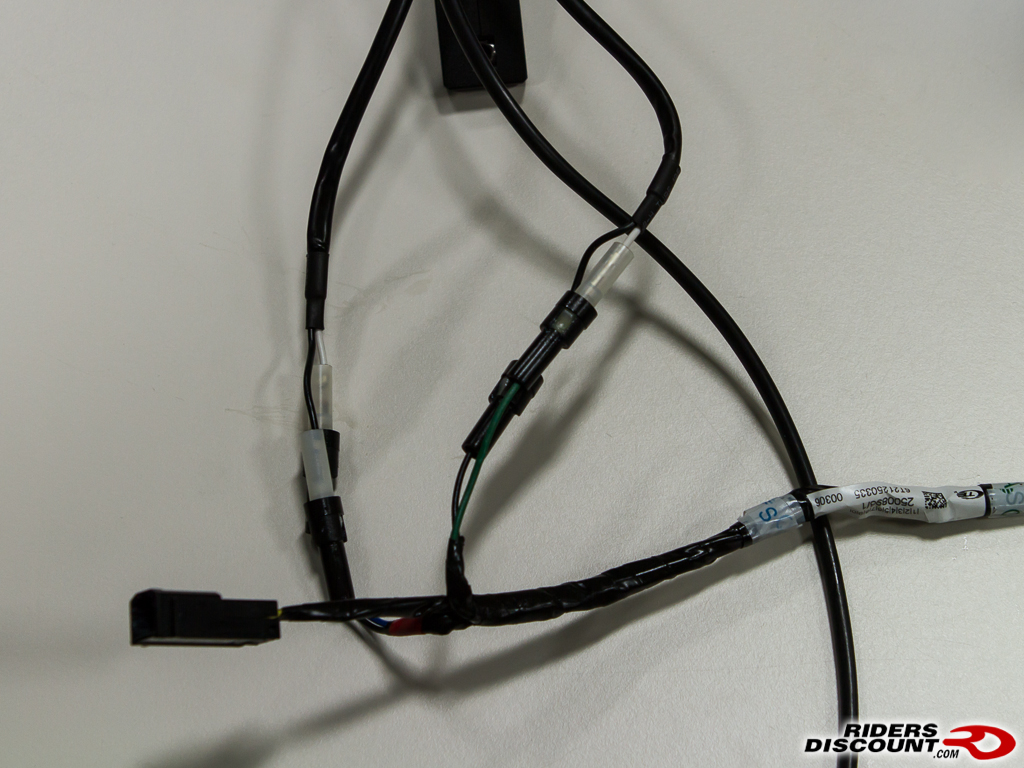
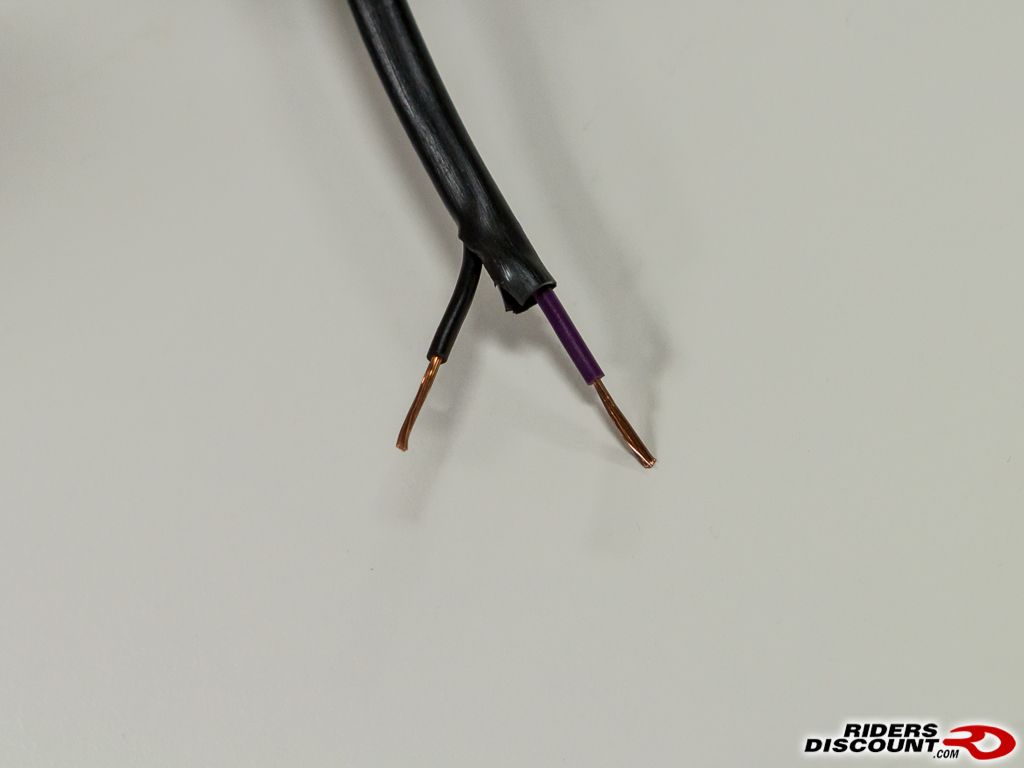
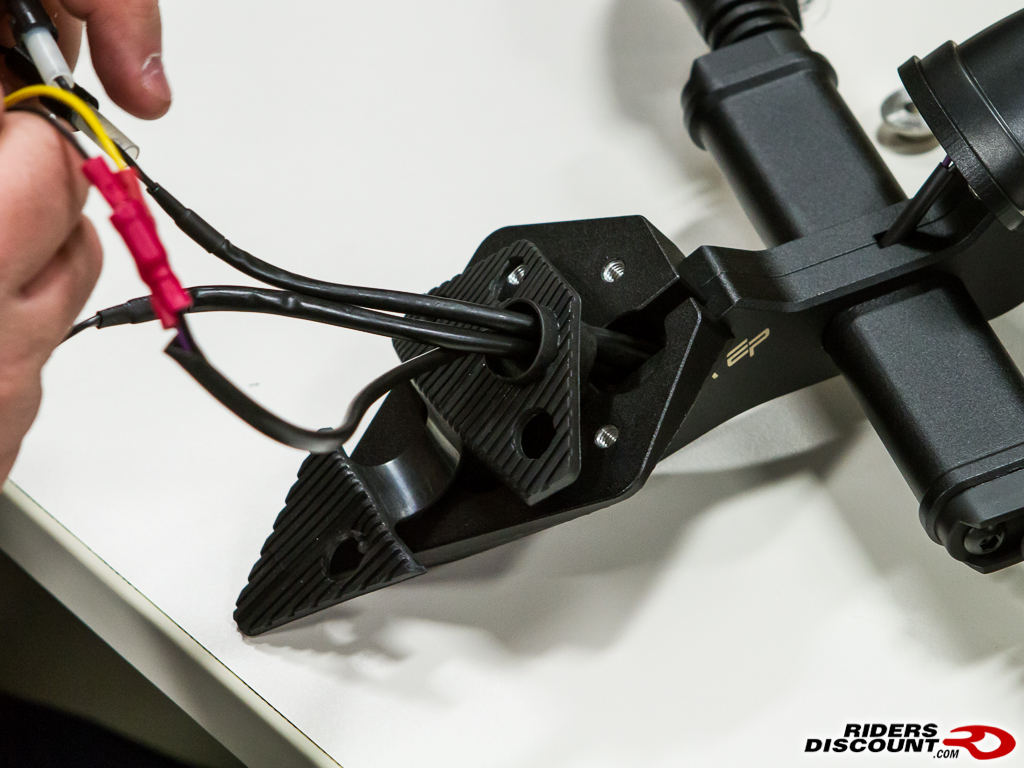
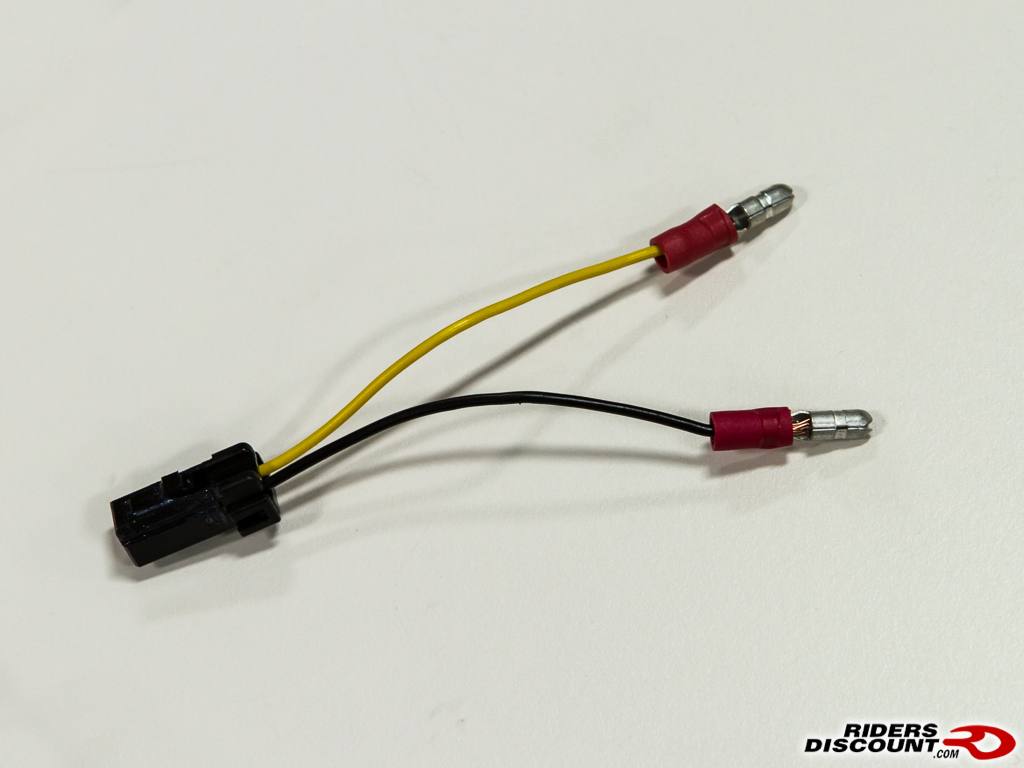
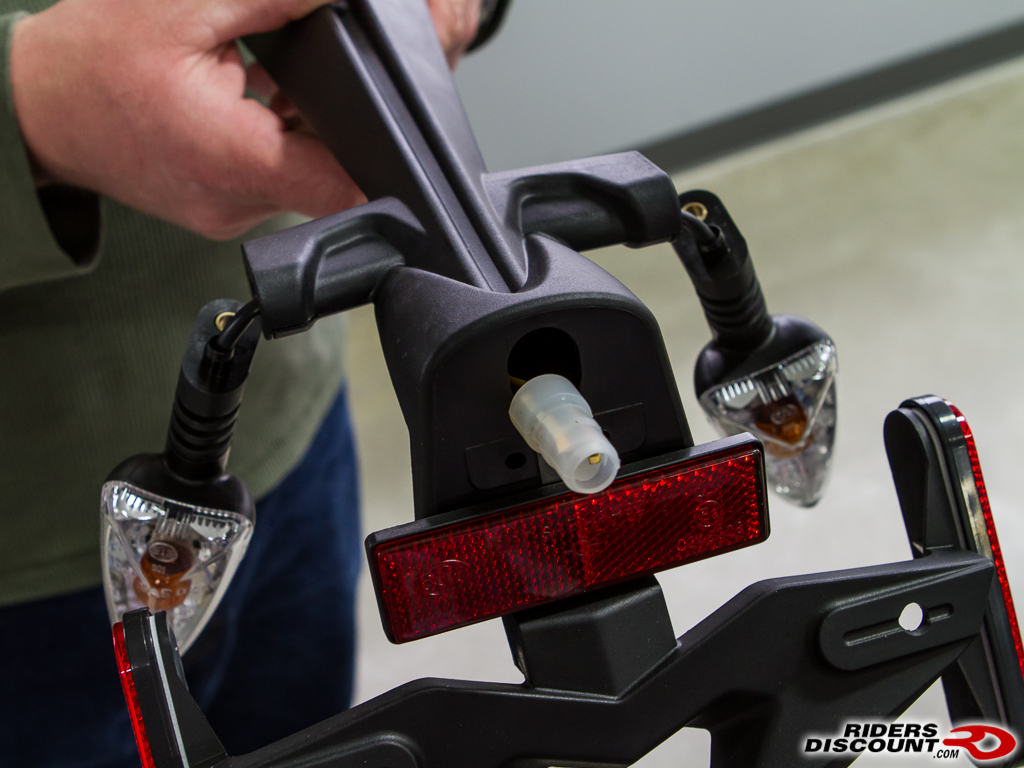
Both of the turn signals are unbolted and the plate light housing has been removed (note the color of wiring before these are unplugged from the harness)
![Image]()
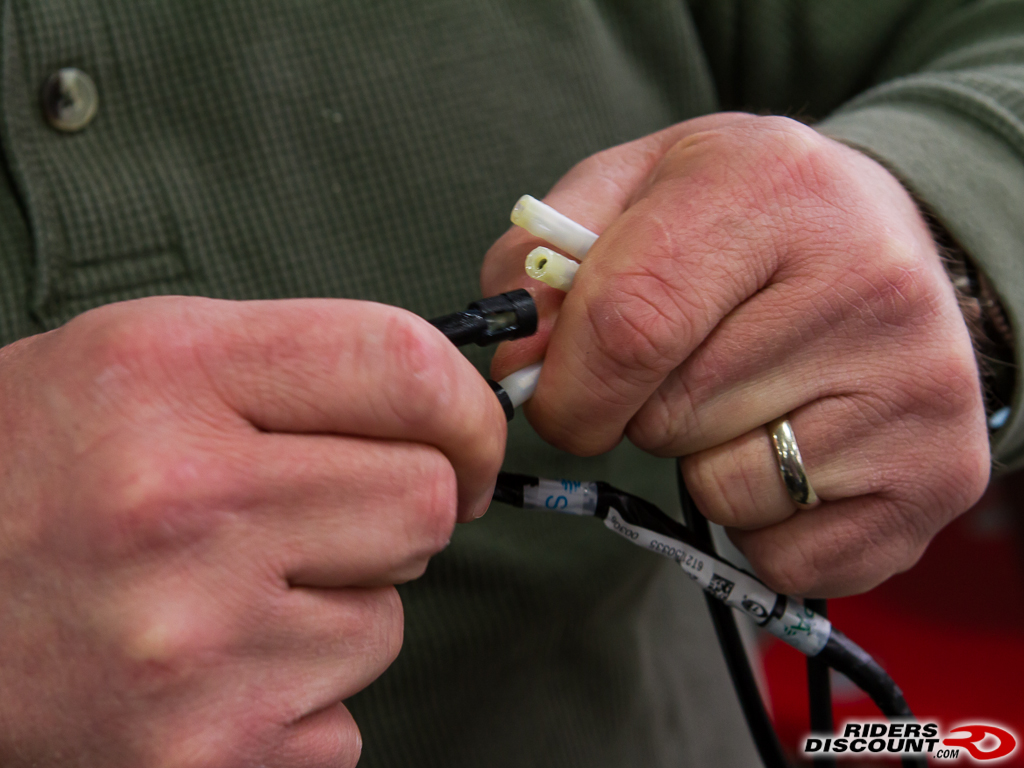
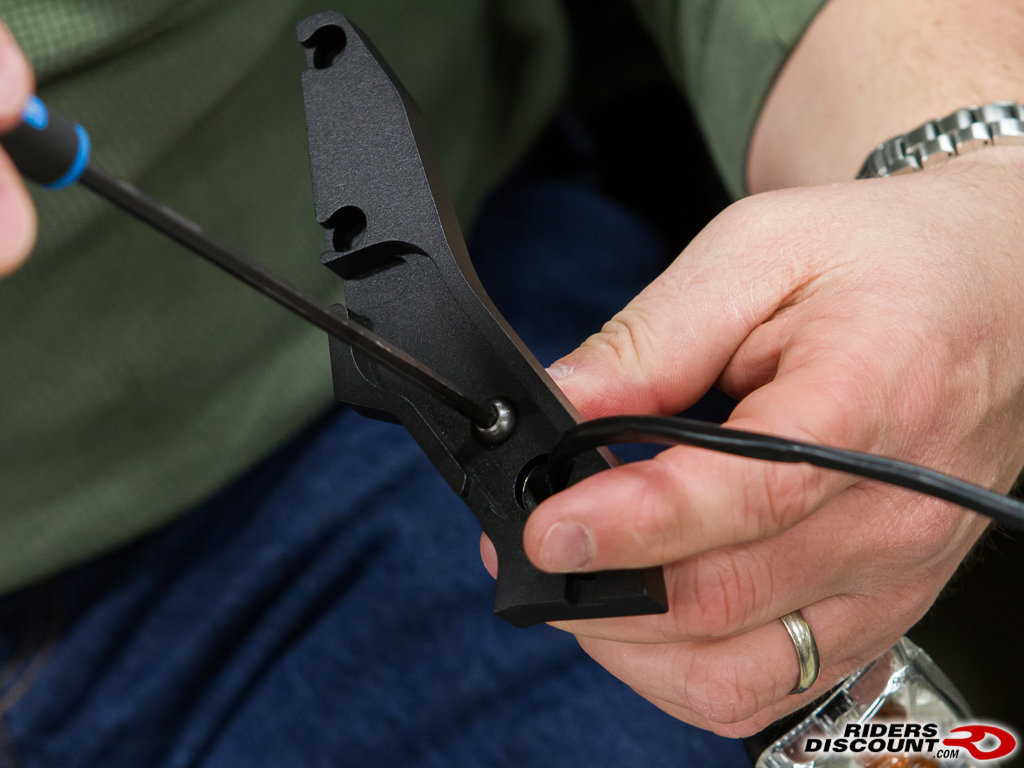
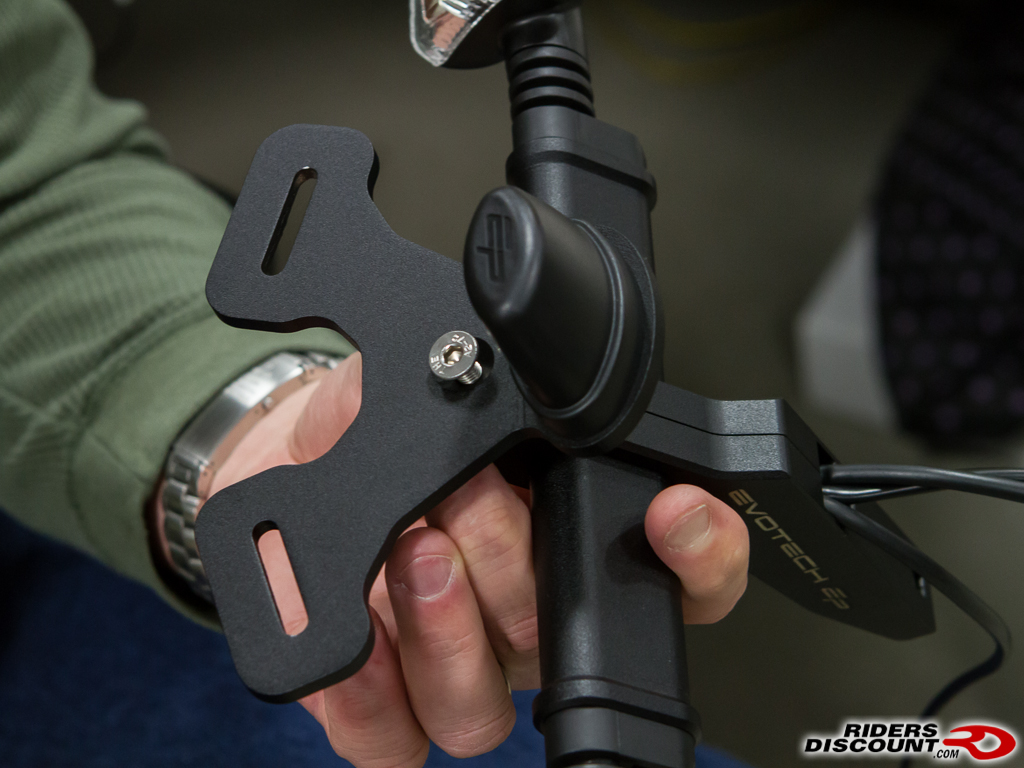
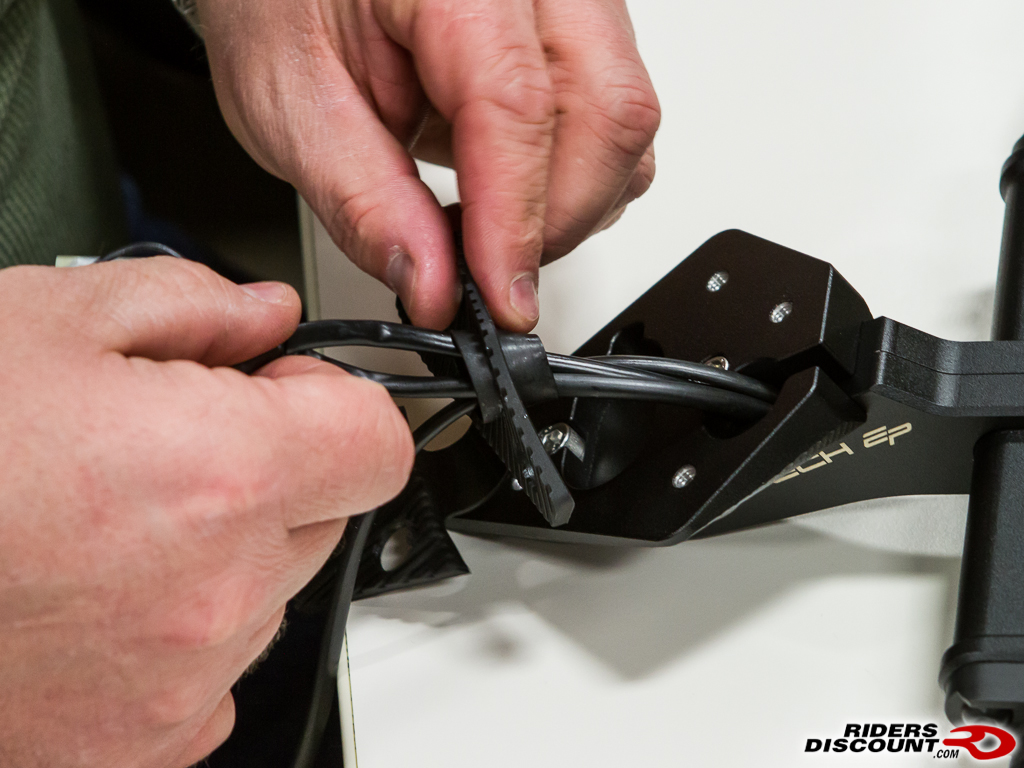
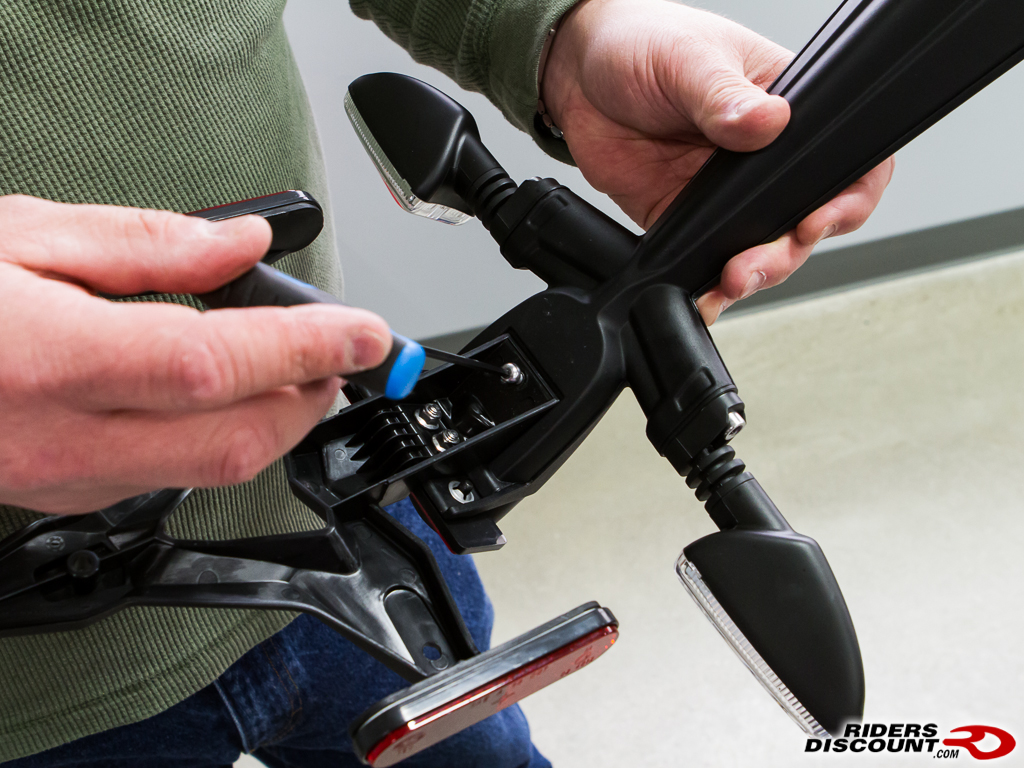
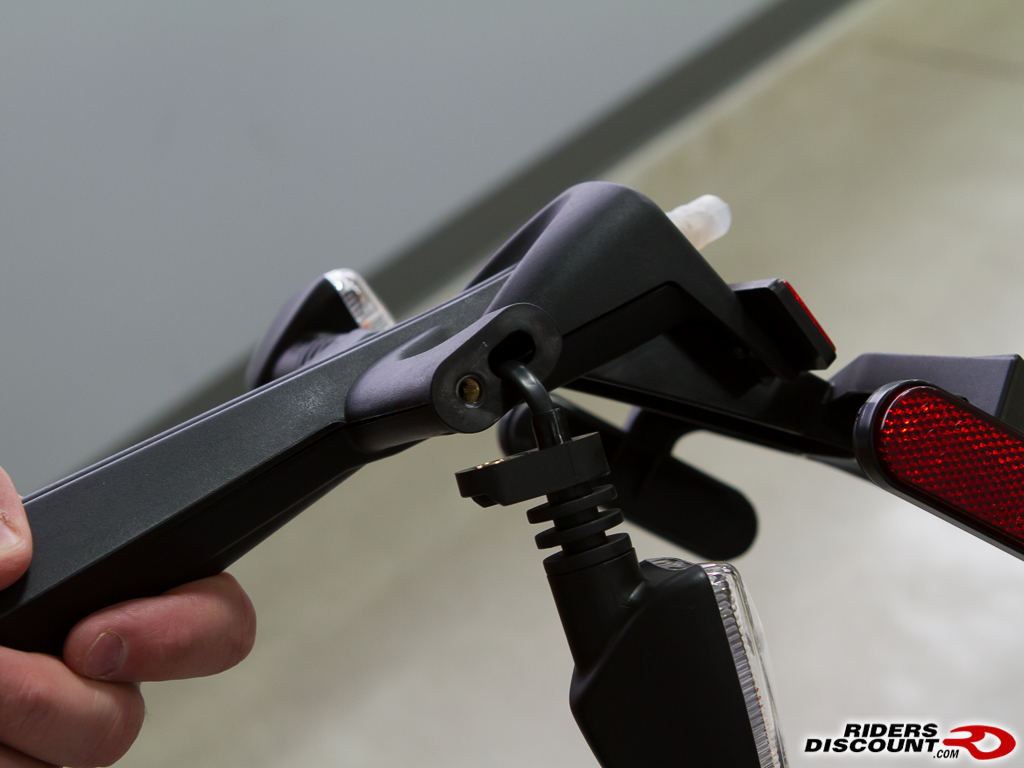
Here you can see we are spreading the OEM housing open like a scissor
![Image]()
You will be disassembling the OEM bracket to gain access to the wiring harness and turn signals.
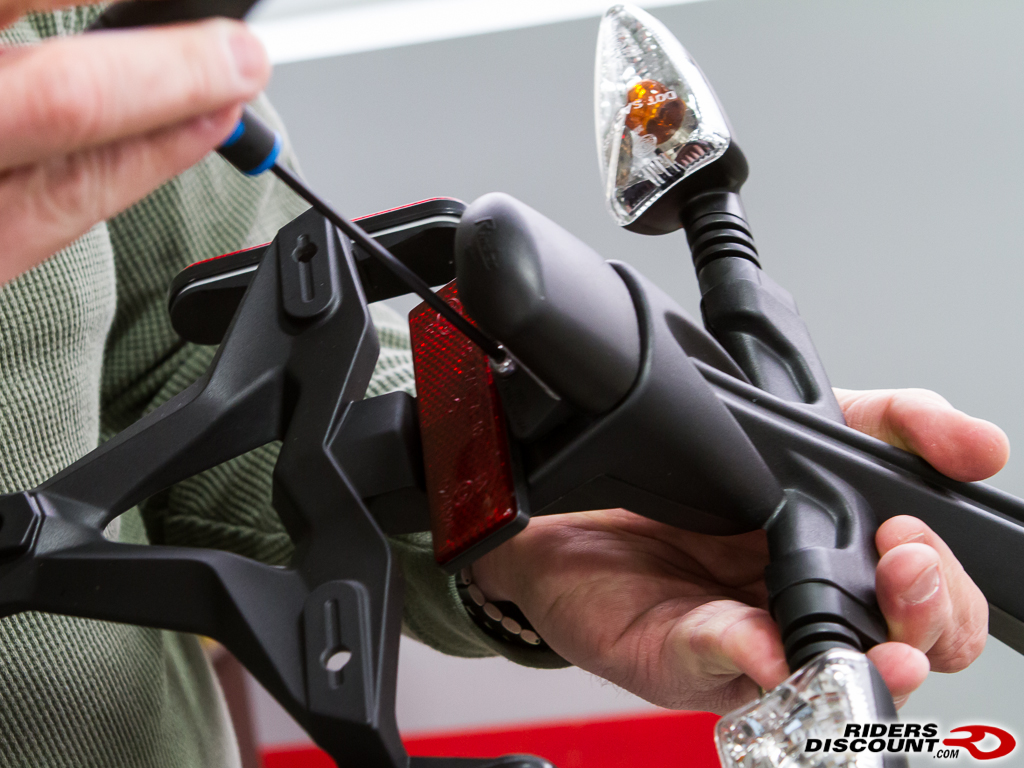
Here you can see the plate light is pulled from the housing
Turn signals are removed

Both of the turn signals are unbolted and the plate light housing has been removed (note the color of wiring before these are unplugged from the harness)
Here you can see we are spreading the OEM housing open like a scissor